Check all article List - Best Sewing Machine | Review of All Sewing Machine | Sewing Tips | Textile | Accessories | How to
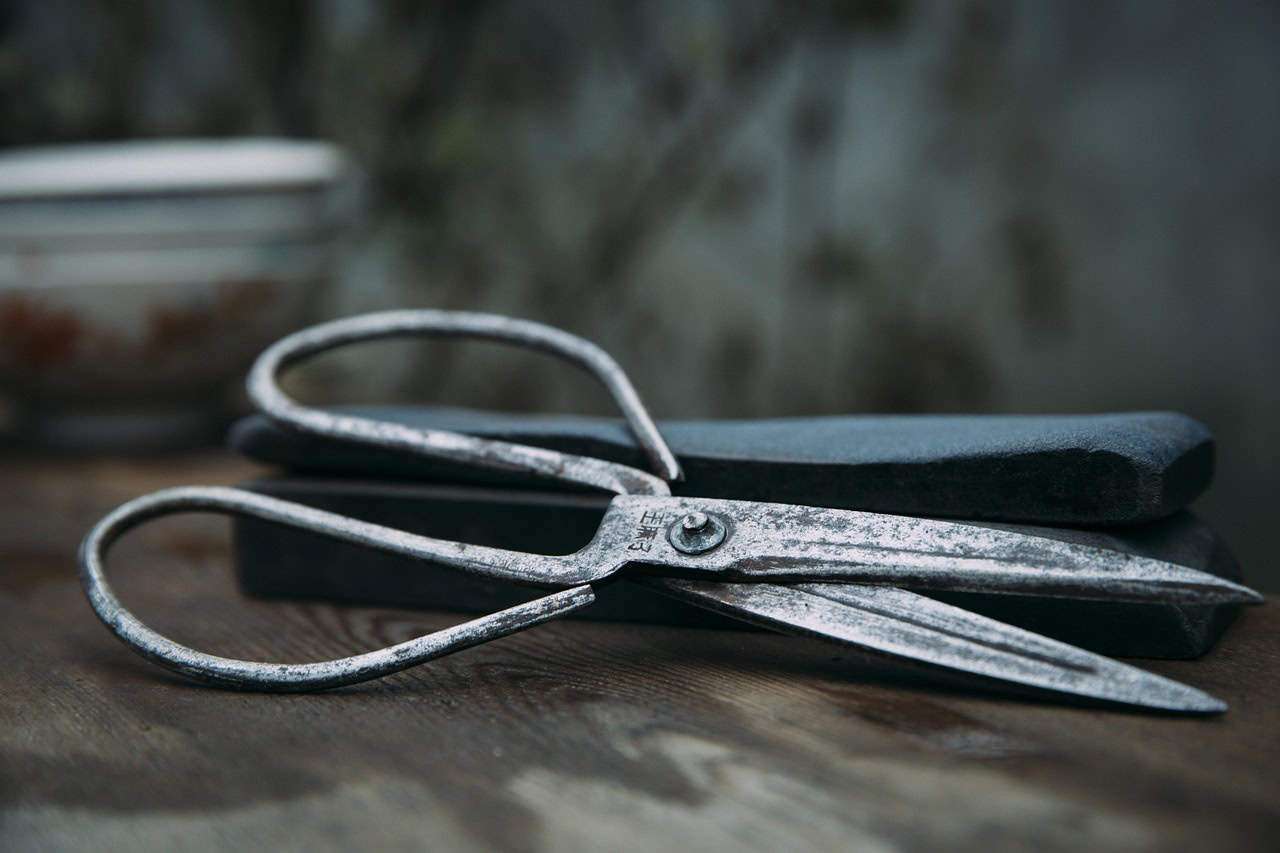
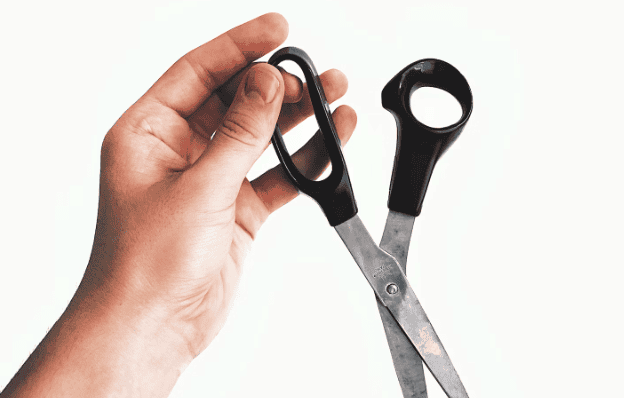
Let’s face it, dull scissors are a frustration for any crafter, tailor, or home user. Before you toss those snippers and head to the store, consider this: sharpening scissors at home is surprisingly easy and cost-effective. While professional sharpening services exist, they can be expensive. Here’s the empowering news: with a little know-how and some everyday household items, you can revitalize your scissors and achieve pristine cuts once again.
This guide will unveil the simple process of sharpening scissors at home, ensuring maximum safety throughout. We’ll explore both specialized sharpening tools ( readily available online or in stores) and ingenious household substitutes that can act as temporary sharpeners in a pinch. By following these steps, you’ll not only save money but also gain the satisfaction of restoring your scissors to their former glory.
Sharpen Scissors with a Sharpening Stone
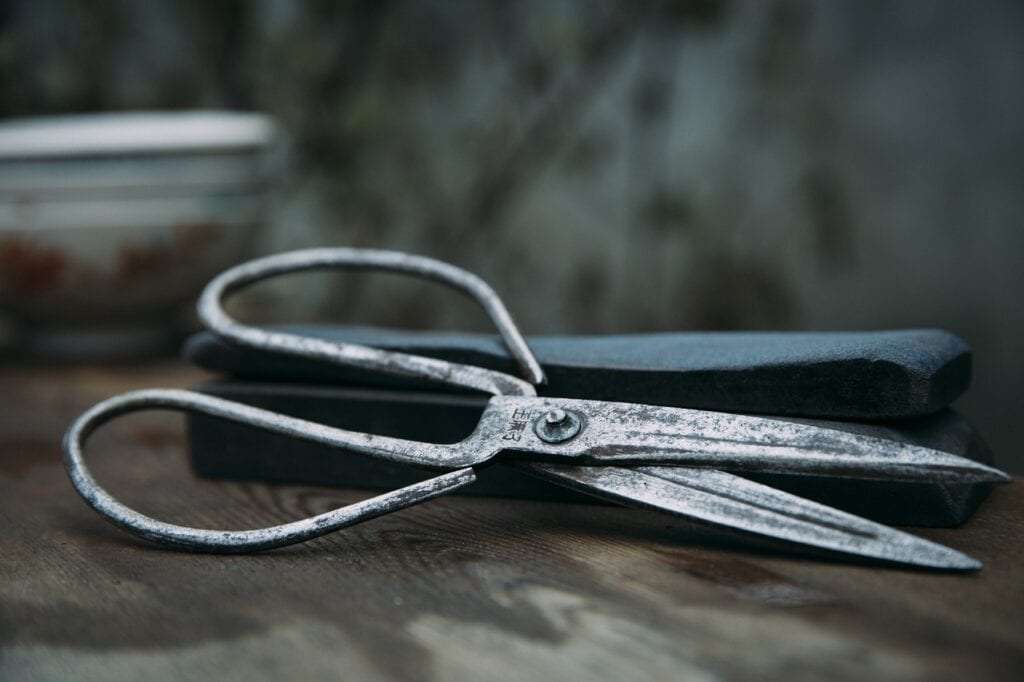
For those seeking a traditional and effective sharpening method, the whetstone (also known as a sharpening stone or bench stone) reigns supreme. This trusty tool boasts two distinct surfaces: a coarse 400-grit side for initial sharpening and a finer 1,000-grit side for polishing. Here’s the key: always begin with the coarse side to establish a solid foundation for a razor-sharp edge.
Sharpening Like a Pro: Step-by-Step Whetstone Technique
Now that you’re armed with your whetstone, let’s get down to business! Here’s a step-by-step guide to sharpening your scissors like a pro:
- Prep the Stone: Hydrate your whetstone by applying a few drops of honing oil or simply using plain water. This lubrication ensures a smooth sharpening process and prevents damage to the stone.
- Position the Blade: Lay one inner blade of the scissors flat on the whetstone surface.
- Stroke with Precision: Begin at the base (the screw end) of the blade and draw it across the entire length of the stone, reaching all the way to the tip. Apply gentle downward pressure throughout the stroke.
- Find Your Rhythm: For moderately dull blades, aim for 10-20 strokes. However, this number can vary depending on the severity of dullness. Take your time and assess the progress after each set of strokes.
Remember: This process focuses on sharpening the inner blade surface. We’ll tackle the crucial sharpening of the cutting edge in the next step!
What You’ll Need to Sharpen Your Scissors
Before diving into the sharpening process, ensure you have the necessary tools at your disposal. Here’s your sharpening arsenal checklist:
- Kitchellence Knife Sharpener
- Dremel Dremel Rotary Tool
- Allstar 150-Grit Sandsheet
- Sharp Pebble Premium Whetstone
• Sharpening Stone: The Sharp Pebble Premium Whetstone is a fantastic choice, offering a coarse 400-grit side for initial sharpening and a finer 1,000-grit side for polishing. This versatile tool allows you to achieve a superiorly sharp edge.
• Alternative Options: While the whetstone is a classic choice, consider these alternatives if it’s not readily available:
- Kitchellence Knife Sharpener: This user-friendly tool provides a convenient way to sharpen scissors, offering a structured approach for achieving a sharp edge.
- Dremel Rotary Tool with Allstar 150-Grit Sandsheet: For a more powerful approach, a Dremel rotary tool equipped with a 150-grit sandsheet can tackle tough sharpening jobs. However, exercise extreme caution and wear safety goggles when using this method due to the potential for higher risk.
Pro Tip: Regardless of the sharpening method you choose, having a permanent marker on hand will prove valuable in the next step.
Sharpening the Cutting Edge: Where Magic Happens
Now comes the critical step: sharpening the actual cutting edge of the scissors. Here’s how to achieve pristine sharpness:
- Mark Your Territory: Utilize the permanent marker to create a thin black line along the beveled cutting edge of the blade. This line serves as a visual guide, indicating when the entire edge has been sharpened.
- Angle for Success: Maintain the same angle established while sharpening the inner blade surface (refer to the previous step for reference).
- Stroke with Precision: Draw the blade across the coarse side of the whetstone 5-6 times, ensuring you cover the entire length of the edge.
- Check Your Work: After each set of strokes, pause and inspect the black ink line. As the edge sharpens, the line will gradually disappear.
- Sharpen to Shine: Continue sharpening until the black line is completely removed and the entire edge boasts a glossy finish, signifying a sharp edge.
- Banishing Burrs: Sharpening can sometimes create tiny metal burrs along the inner blade. To remove these, simply lay the inner edge flat on the stone and gently glide it across the surface.
- Fine-Tuning for Perfection: Flip the whetstone over to reveal the fine-grit side. Moisten the surface and hone the cutting edge with 10-20 strokes, further refining the sharpness.
- Don’t Forget the Other Side: Repeat steps 1-8 to sharpen and hone the other blade of the scissors.
Congratulations! You’ve successfully sharpened your scissors using the whetstone method. With a little practice, you’ll be a scissor-sharpening pro in no time!
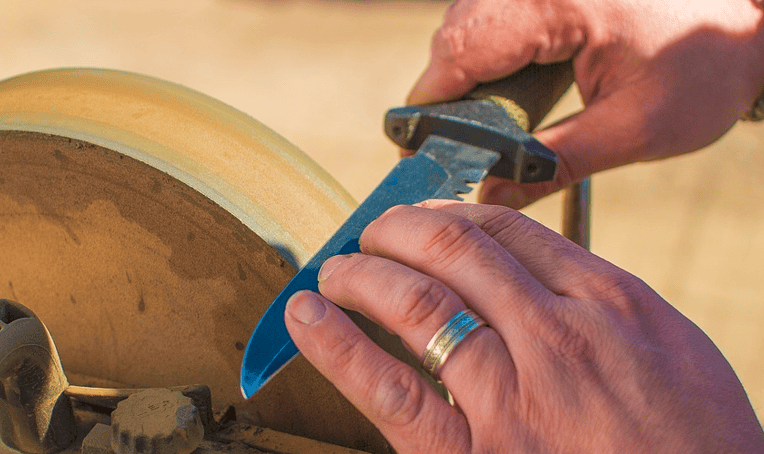
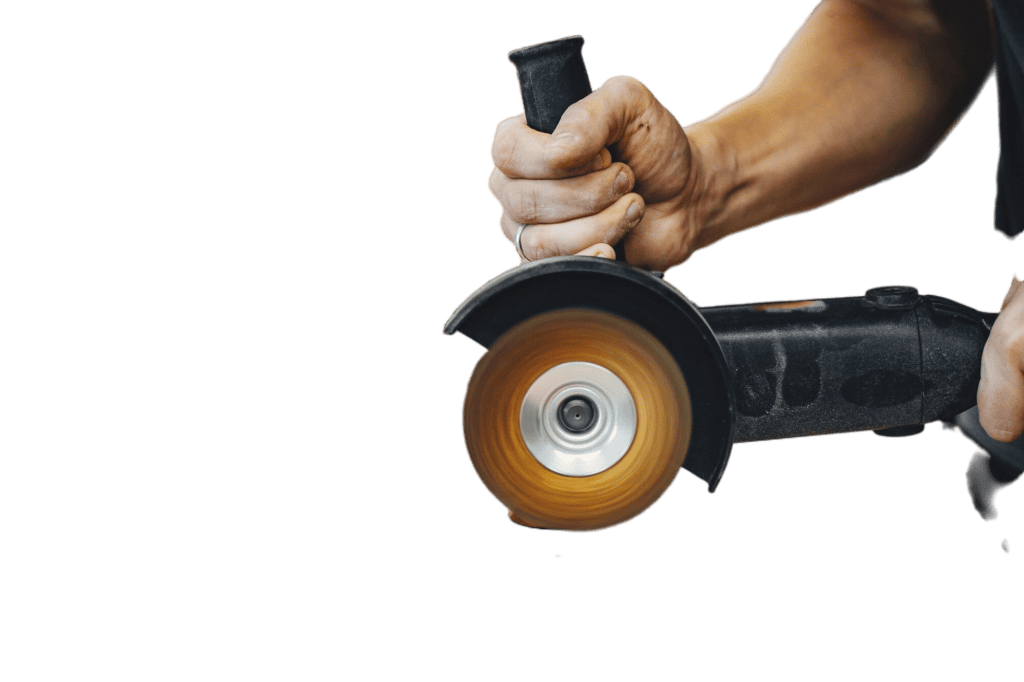
How To Sharpen Scissors to Use a Rotary Tool
For those seeking a faster sharpening approach, a Dremel rotary tool can be a powerful option. However, due to the increased risk involved, extreme caution is essential. Here’s a breakdown of the process, emphasizing safety first:
Safety First: Before proceeding, it’s crucial to prioritize safety. Always wear protective eyewear when operating a Dremel rotary tool to shield your eyes from flying debris.
Sharpening Steps:
- Secure the Blade: Clamp the scissor blade firmly in a vise, ensuring the beveled cutting edge faces upwards. This positioning allows the grinding stone to effectively sharpen the edge.
- Gear Up: Equip the Dremel tool with an aluminum-oxide grinding stone and tighten the collet nut securely to ensure the stone remains firmly attached.
- Power Up with Caution: With a firm grip on the tool using both hands, activate the motor. Carefully bring the grinding stone into contact with the beveled edge of the scissor blade.
- Angle is Key: Maintain the same angle as the existing bevel on the cutting edge. This ensures consistent sharpening and prevents damage.
- Continuous Motion is Crucial: As you guide the rotating stone across the beveled edge, keep it in constant motion. Avoid lingering in one spot, as this can create an unwanted hollow area on the blade.
- Light Touch, Big Results: Apply minimal pressure while passing the stone across the edge. Begin at the base of the blade and work your way towards the tip in a smooth, controlled motion. Repeat this process 8-10 times.
- Banishing Burrs: Sharpening can sometimes create tiny metal burrs on the flat side of the blade. If you notice any, simply use the grinding stone to gently grind them off.
- Sharpen the Other Side: Repeat steps 1-4 to sharpen the second scissor blade with the same meticulous care for optimal results.
Remember: The Dremel method offers faster sharpening, but it requires a steady hand, precise control, and utmost safety precautions. If you’re a beginner, consider practicing on a less valuable pair of scissors or explore alternative sharpening methods before attempting this technique.
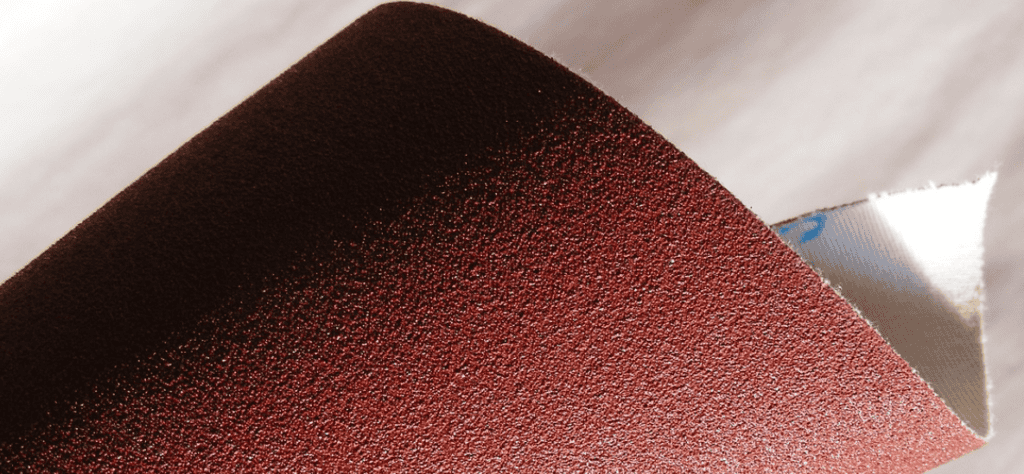
How To Sharpen Scissors Using Slice Sandpaper
Sandpaper Sharpening: A Simple Trick for Moderately Dull Scissors
For scissors that are a bit rough around the edges but not completely blunt or damaged, a clever trick using sandpaper can often restore their cutting prowess. Here’s how to breathe new life into your scissors with this simple and effective method:
Sandpaper Prep:
- Gritty Goodness: Select a sheet of 150-grit aluminum-oxide sandpaper. This grit level offers a balanced approach for sharpening without being overly aggressive.
- Double the Power: Fold the sandpaper sheet in half, ensuring the abrasive surfaces face outwards. This creates a more sturdy base for cutting.
Sharpening with Sandpaper:
- Slice and Sharpen: Use the scissors to cut the sandpaper into narrow strips. Aim for full-stroke cuts to ensure the entire cutting edge of both blades comes into contact with the abrasive surface.
Science Behind the Sharpening:
Imagine the abrasive particles on the sandpaper acting like miniature sharpening stones. As you cut, these particles gently hone the cutting edge of both blades simultaneously, restoring their sharpness.
Cleaning Up:
- Wipe Away Residue: After completing the cutting strips, wipe the blades clean with a cloth or paper towel. This removes any abrasive grit that might otherwise hinder the smooth cutting action of the scissors.
Testing the Results:
- Sharpened Success? Put your newly sharpened scissors to the test! Try making several cuts in scrap paper. Evaluate the cutting performance to determine if further sharpening is needed. If the desired sharpness hasn’t been achieved, simply repeat the process until you’re satisfied with the results.
Bonus Tip: While not covered here, using aluminum foil can also be a viable option for honing slightly dull scissors. We’ll explore that technique in another section!
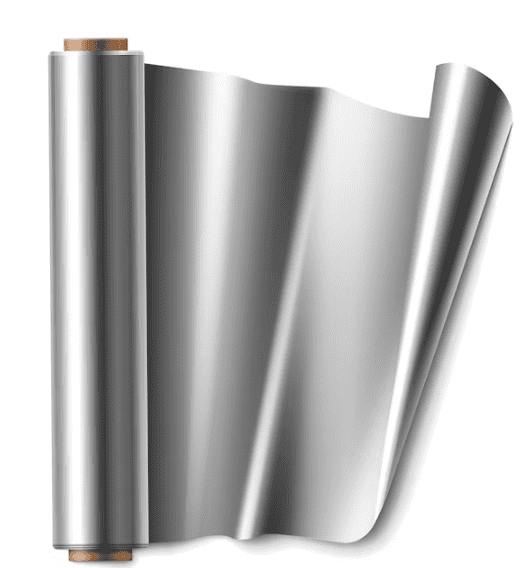
How To Sharpen Scissors by Cut Aluminum Foil
For a quick and convenient way to sharpen slightly dull scissors, look no further than the humble aluminum foil! Here’s how to utilize this readily available household item for a surprisingly effective sharpening technique:
Aluminum Foil Prep:
- Foil Power: Tear off a sheet of aluminum foil roughly 12 inches long.
- Layered Advantage: Fold the foil sheet several times upon itself, creating a compact packet with at least six layers. This increased thickness provides the necessary resistance for the sharpening process.
Sharpening with Foil:
- Slice and Sharpen: Equipped with your prepared foil packet, use the scissors to cut through it, creating 10-12 strips. Remember to make full-stroke cuts, ensuring the entire cutting edge of both blades interacts with the foil. This action helps hone the blades and restore their cutting prowess.
Science Behind the Sharpening:
Think of the foil layers as a series of thin, flexible sharpening surfaces. As you cut, the blades come into contact with these layers, gently refining the cutting edge and improving overall sharpness.
Testing for Success:
- Sharper or Not? After creating the foil strips, put your scissors to the test! Cut through some scrap paper and evaluate the cutting action. Have the scissors regained their sharpness? If not, simply repeat the process by cutting a few more foil strips until the scissors can cleanly and effortlessly slice through the paper.
- Cleaning Up: Once you’re happy with the achieved sharpness, wipe down the blades with a cloth or paper towel. This removes any tiny aluminum residue that might linger and potentially hinder the smooth cutting action or damage the scissors.
Remember: Aluminum foil sharpening is best suited for mildly dull scissors. For more severely dulled or damaged blades, consider exploring alternative methods like the whetstone or Dremel tool (with caution).
How To Sharpen Scissors with Knife Sharpeners
Knife Sharpener Surprise: A Hidden Sharpening Power (For Compatible Models)
In a pinch, a trusty knife sharpener can surprisingly come to the rescue for sharpening scissors! While some dedicated scissor sharpeners exist, they can be expensive and have limited uses. Here’s the good news: many knife sharpeners can double as scissor sharpeners, offering a versatile and potentially cost-effective solution (depending on the sharpener you already own).
Compatibility Check:
- Read the Label: Before diving in, carefully examine the labeling on your knife sharpener. Look for any mention of a scissors sharpening slot or functionality. Some sharpeners explicitly state their suitability for both knives and scissors.
- Visual Inspection: If the labeling isn’t clear, do a visual inspection. See if there’s a designated slot or mechanism that appears suitable for accommodating the shape of scissors.
Sharpening Steps (if compatible):
Important Note: The specific steps for sharpening scissors with a knife sharpener will vary depending on the model. If your knife sharpener is compatible, consult the manufacturer’s instructions for the proper technique.
Limitations:
- Not All Heroes Wear Capes: It’s important to remember that not all knife sharpeners are created equal. Some may not be designed for sharpening scissors and could potentially damage them.
- Limited Applications: Even compatible knife sharpeners might not be ideal for severely dull or damaged scissors. In such cases, consider exploring alternative methods like whetstones or Dremel tools (used with extreme caution).
The Takeaway:
Knife sharpeners can be a convenient option for sharpening scissors, especially if you already own one. However, compatibility is key. Always check the labeling or consult the manufacturer’s instructions before using a knife sharpener on your scissors. If in doubt, explore alternative sharpening methods for optimal results.
How To Sharpen Scissors With Household Items
Household Heroes: Everyday Sharpening Solutions
For those seeking a quick fix without venturing to the store, the good news is that your home might already harbor some surprisingly effective sharpening tools! Here’s a breakdown of some readily available household items that can be used to address mildly dull scissors:
Aluminum Foil Sharpening:
- Sharpen with Foil: Locate some aluminum foil in your kitchen. Simply use the scissors to make several cuts through the foil, ensuring full strokes for maximum blade contact. This action utilizes the foil’s abrasive properties to gently hone the blades and improve cutting performance.
- Folding Power (Optional): For slightly more resistance, consider folding the foil a few times before cutting. This creates a thicker layer that provides additional sharpening power.
Important Note: Aluminum foil sharpening is best suited for mild dullness. For more severe cases, explore alternative methods like whetstones or Dremel tools (used with extreme caution).
Sandpaper Sharpening:
- Sandpaper as a Sharpener: Similar to the foil method, leftover sandpaper can also be used for sharpening. Cut through the sandpaper using full strokes to ensure both blades come into contact with the abrasive surface.
- Grit Selection: Opt for medium-grit sandpaper for a balance between sharpening effectiveness and potential blade damage. Sandpaper can also be helpful for removing rust from the blades in addition to sharpening.
Steel Wool Polishing (Optional):
- Polishing Power: After sharpening with another method, you can use steel wool to polish the blades. Simply run the steel wool back and forth between the open blades a few times. This step helps remove any remaining residue and creates a smoother cutting surface.
Caution: While these household methods can be effective for mild dullness, they may not be suitable for severely dull or damaged scissors. Additionally, some methods like steel wool can potentially leave scratches on the blades. Use these techniques with discretion and explore alternative methods for more serious sharpening needs.
Whetstone Wisdom (Not a Household Item, But Worth Mentioning):
For a more traditional and precise sharpening experience, whetstones are a fantastic option. While not technically a household item, whetstones are readily available for purchase and offer excellent sharpening results. We’ll delve deeper into the whetstone sharpening technique in a separate section for those seeking a more in-depth approach.
How To Sharpen Scissors Commercially
Seeking Professional Help: When DIY Isn’t the Answer
If sharpening your scissors at home seems daunting or if you have a large quantity of scissors that need attention, professional sharpening services are a great alternative. Here’s a breakdown of the options available:
In-Store Sharpening:
- Convenience at Local Businesses: Many businesses offer sharpening services, including:
- Art and craft stores
- Home improvement stores
- Specialty shops selling scissors or similar items
- Benefits of Local Sharpening:
- Quick turnaround: Often, you can drop off your scissors in the morning and pick them up sharpened later in the day.
- Cost-effective: In-store sharpening can be a relatively inexpensive option, especially for a single pair of scissors.
Finding Local Sharpening Services:
- Look online or inquire at your local shops to see if they offer scissor sharpening.
Mail-Order Sharpening:
- Convenience from Afar: If no local options exist, consider mail-order sharpening services.
- Process: Simply package your scissors securely and mail them to the sharpening service.
- Turnaround Time: Expect a few days for the sharpening process and return shipping.
Cost Considerations:
- Mail-order sharpening tends to be more expensive due to the added shipping costs.
Choosing the Right Option:
- Consider the number of scissors needing sharpening.
- Evaluate your budget and desired turnaround time.
- Local in-store sharpening is often the most cost-effective and time-efficient option if available.
How To Sharpen Scissors With Specialty Sharpeners
We have covered the topic of how you can sharpen the blades on your scissors by utilizing a variety of materials and items, as we have discussed how you can do this. This is more of a temporary solution, one that you may need to repeat more than once if you make heavy use of your scissors for various crafts, in the kitchen, or simply around the house in general. Investing in a sharpener that is specifically produced is the best option for maintaining the sharpness of your scissors over the long term. These sharpeners are not only easy to find in craft stores and even online, but they also do not set you back a significant amount of money.
How To Sharpen Scissors Of Different Types
Sharpening Scissors: A Tailored Approach for Different Types

Scissors come in all shapes and sizes, each designed for a specific purpose. Understanding the type of scissors you have is crucial for selecting the most appropriate sharpening method. Here’s a breakdown of sharpening techniques for some common scissor types:
Standard Scissors:
- Your Everyday Workhorses: These versatile scissors tackle various materials like cloth, paper, and even light cables.
- Sharpening Options: They typically have straighter, less intricate blades that are easier to sharpen at home. Methods like sandpaper or aluminum foil can be effective for maintaining sharpness.
Embroidery Scissors:
- Delicate Snippers: These small, pointed scissors are designed for precision cuts in embroidery projects.
- Sharpening Cautiously: Due to their delicate nature, avoid overly aggressive sharpening. Aluminum foil can be a suitable option for maintaining sharpness. If the blades are very dull, consider a professional sharpening service.
Fabric Scissors:
- The Seamstress’s Secret Weapon: Sharp fabric scissors are essential for clean cuts when sewing or crafting garments.
- Sharpening with Care: Sharpening fabric scissors at home requires some practice. Medium-grit sandpaper can be used, but for beginners, a professional sharpening might be preferable to minimize blade damage.
Barber Shears/Hair-Cutting Scissors:
- Ultimate Sharpness: These require consistent maintenance to stay exceptionally sharp for high-quality haircuts.
- Sharpening with Caution: If sharpening them yourself, use sandpaper or a store-bought sharpener with extreme care. Limiting their use to hair cutting helps prolong their sharpness. Consider professional sharpening for best results.
Kitchen Shears:
- Culinary Companions: These versatile kitchen tools can tackle herbs, packaging, and even chicken (when sharp!).
- The convenience of Attached Screwdrivers: Many kitchen shears have built-in screwdrivers for disassembly, simplifying cleaning and sharpening. Use a separate sharpener after disassembling the shears.
FAQs on How To Sharpen Scissors?
How can I sharpen my scissors at home?
- One method is using a sharpening stone. Start by disassembling the scissors and then rub the beveled edge of the blade against the stone at a consistent angle, moving in a circular motion. Repeat this process until the blade is sharp. Alternatively, you can use a honing steel, similar to sharpening knives, to gently realign the blade’s edge.
Does cutting aluminum foil sharpen scissors?
- Yes, cutting aluminum foil can help sharpen scissors to some extent. The repeated action of cutting through the foil can remove small nicks and burrs from the blades, resulting in a slightly sharper edge. However, for more significant sharpening, you may need to use a dedicated sharpening method.
Can you get scissors sharpened?
- Yes, you can get scissors professionally sharpened. Many hardware stores, specialty scissor sharpening services, and even some sewing or crafting shops offer scissor sharpening services. They use specialized equipment and techniques to restore the sharpness of your scissors effectively.
Can you sharpen the scissors with sandpaper?
- Yes, sandpaper can be used to sharpen scissors. Start with a coarse-grit sandpaper and fold it in half with the abrasive side facing out. Then, make several cuts through the sandpaper with the scissors, ensuring to cover the entire length of the blades. Gradually move to finer grits of sandpaper until the desired sharpness is achieved.
How do I make my scissors sharp again?
- To make scissors sharp again, you can either use a sharpening stone, honing steel, sandpaper, or even a specialized scissor sharpener. Follow the appropriate technique for the chosen method, and remember to maintain a consistent angle while sharpening to ensure an even edge.
How do you restore old scissors?
- Restoring old scissors involves removing any rust or corrosion, sharpening the blades, and lubricating the pivot point. Use a rust remover or a mixture of vinegar and baking soda to clean off any rust. Then, sharpen the blades using one of the methods mentioned earlier. Finally, apply a small amount of lubricant, such as sewing machine oil, to the pivot point to ensure smooth operation.
How can I sharpen my scissors at home without them?
- If you don’t have access to traditional sharpening tools, you can try alternatives like cutting sandpaper, aluminum foil, or even using a sharpening rod meant for kitchen knives. While these methods may not achieve the same level of sharpness as professional sharpening tools, they can still improve the cutting ability of your scissors.
What tool is used to sharpen scissors?
- Several tools can be used to sharpen scissors, including sharpening stones, honing steels, specialized scissor sharpeners, sandpaper, and even aluminum foil. Each tool has its own technique, but the goal is to remove any dullness or imperfections from the blade’s edge to restore sharpness.
Check all article List - Best Sewing Machine | Review of All Sewing Machine | Sewing Tips | Textile | Accessories | How to


